Scraping Websites with Python, Selenium, and Tor
The |Big Data| Heist

Google guards its data notoriously well and it is not uncommon to see a page like this when you try to summon too many consecutive requests to google.
How many times have you automated a code to run multiple times in order to scrape a website, take a coffee back and then come back to find that the website has blocked your advances? It sets you back by hours, causes frustration, and delays your progress.
Most websites have a defense mechanism against back-to-back requests coming from the same IP address. This is done in order to quash Denial-Of-Service attacks before they can slow the website down.
One way to circumnavigate this problem is to space out our requests across hours or days. But in most cases, we do not have that kind of time.
Tor
It directs Internet traffic through a free, worldwide, volunteer overlay network, consisting of more than six thousand relays,[7] for concealing a user’s location and usage from anyone conducting network surveillance or traffic analysis.
The Tor Browser allows us to connect to the internet and send requests from different IP addresses. So the destination never knows the actual origin of the request. Every time you connect through the Tor, it is as if you are assigned a new IP address.

We just need to control the Tor browser through code. That is where Selenium comes into the picture.

Primarily it is for automating web applications for testing purposes, but is certainly not limited to just that. Boring web-based administration tasks can (and should) also be automated as well. — Selenium
Let us now see how we can use Selenium, Python, and Tor to access different websites in a macOS environment.
Firefox
Selenium runs Tor using the Firefox package, so make sure that both Tor and Firefox browsers are installed as stand-alone applications.
Driver
To open the browser using code, we need to install the geckodriver. And it has to be done in two ways.
- Install geckodriver from the terminal
brew install geckodriver
2a. Download the geckodriver software
Do make sure to check the version of your Firefox before downloading the driver.
Once you have installed the driver, unzip it.
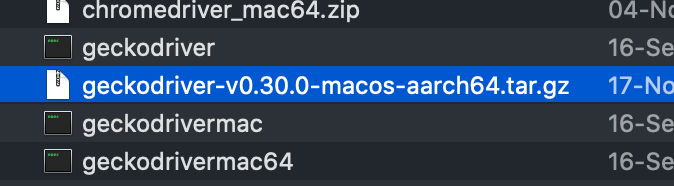
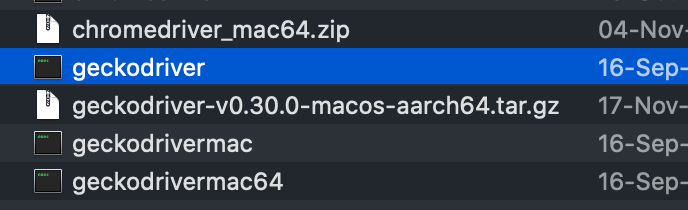
2b. Once you have downloaded and extracted the software, you will get a file called geckodriver64 or geckodriverXX. Rename it to just geckodriver and then move it to /usr/local/bin. Additionally, make sure that /usr/local/bin is added to your path.
mv geckodriver /usr/local/bin
export PATH=$PATH:/usr/local/bin
echo $PATH
3. Also you need to add your localhost address to the /etc/hosts file. In case the file does not exist, create the file.
sudo nano /etc/hostsAdd the following line to the end of the file.
127.0.0.1 localhost4. Install selenium
pip install seleniumApplication
Now that setup is complete, we can move on to the code. But before that, there is one last thing that we need to understand.
Like I mentioned before, we shall use the selenium plugin for Firefox to run Tor. This means that while opening Firefox using selenium, we need to feed in the location of the Tor browsers Firefox component. It may sound a little convoluted, but the following screenshots will clear it up.
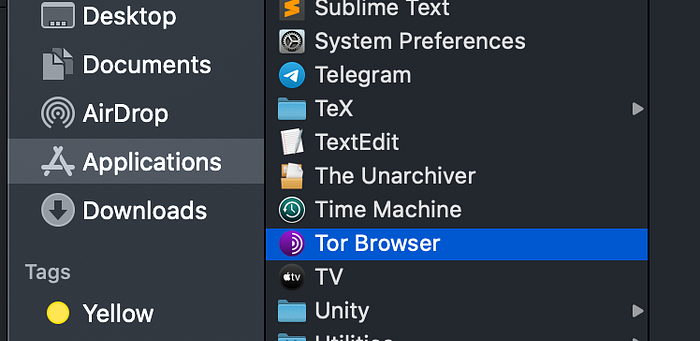
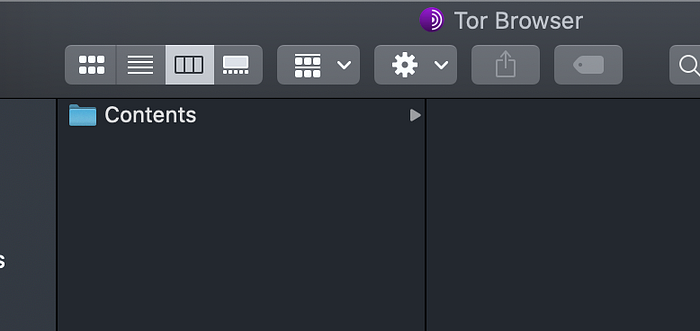
If you have Tor installed and you go to Applications, you can find the Tor icon.
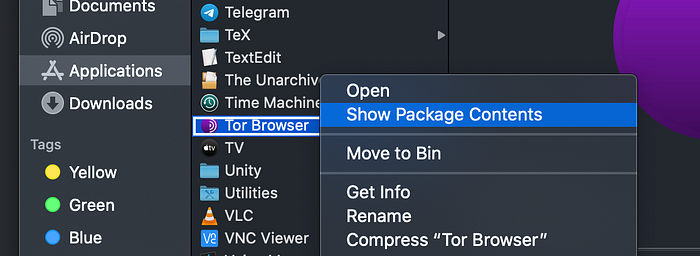
If you right-click on that and select “Show Package Contents”
When you click on “Show Package Contents”, you can browse inside the package as follows
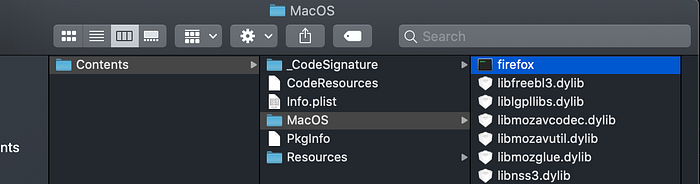
As you can see, there is a Firefox executable conveniently located inside Tor. So when we use Selenium to open Firefox, we shall point to this Firefox executable (inside the Tor Package) that will in turn open the Tor browser.
Code
The following code will clear up what I just explained above.
Line number 4 shows the location of the Firefox executable inside the Tor package, it may not be exactly the same for you, so please change it as per your directory names.
The output of this code snippet is
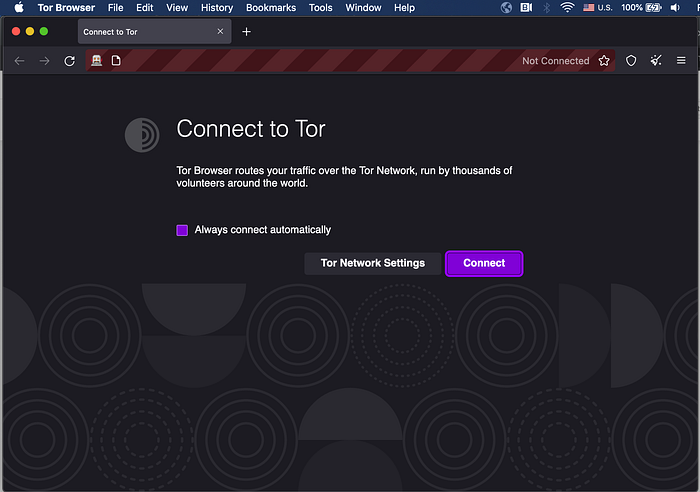
The browser is up and about, but note that it shows “Not Connected” at the top. Let's fix that.
Harnessing Selenium’s power of browser automation, we click on the connect button (line 23), and our browser is now connected to one of the volunteer nodes, ready to replace our IP with their own.
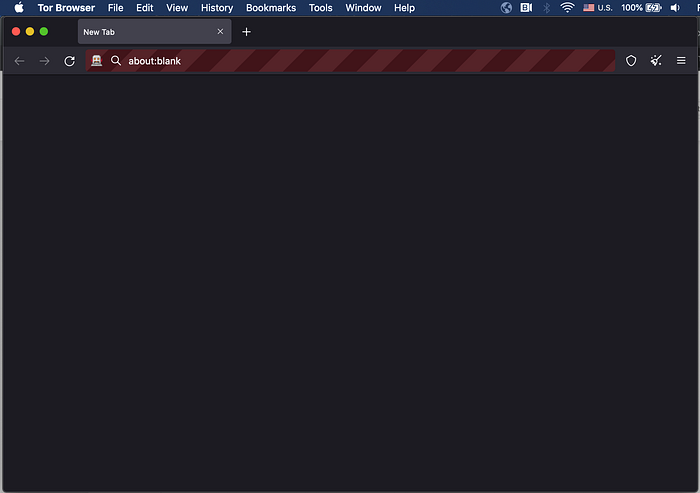
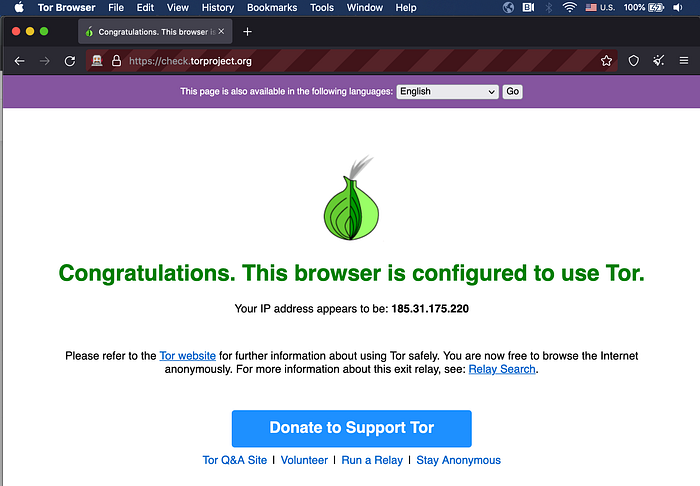
Let us now check the IP address from which our requests will be sent.
Lines 27 and 28 have been added which shows our IP.
Running Headless
It might be inconvenient if the browser kept popping open while you were working. There is a headless option that allows the browser to be opened without exposing its GUI. This is an amazing feature as this allows you to carry on with your day-to-day work while the browser functions as if it was physically opened and present on your desktop.
This time we will not see any output. The browser will silently complete the task and extract the information that you would need.
Caveats
- Speed — As Tor reroutes your requests across different hops, the response time increases significantly. If you are in an already slow network, using Tor would make the process even slower. Try to be in a high-speed network and factor in the speed while tuning your delays.
- IP Address— Remember to (programmatically) close your browser and re-connect when requesting to the same web server. Failure to do that would mean you would be using the same IP address (albeit not your own) for all your requests, leading to an ultimate ban from the webserver. The IP provided by Tor does not change unless you are close and re-connect the browser.
- Connection — Sometimes, the Tor browser is unable to establish a connection to the remote nodes. In such a situation, what I did was kill the process from the terminal and re running my code.
top | grep firefoxAs Tor runs using the Firefox package, it will show the Firefox process instead of Tor. To be on the safe side, do not use the native Firefox browser while using Tor through code.
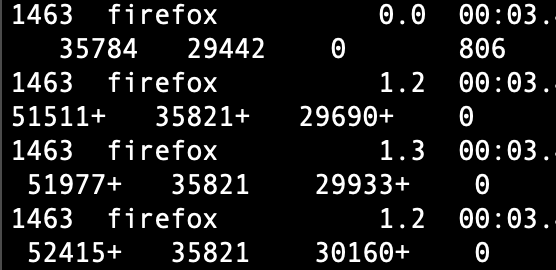
kill 14634. Persist, persist, persist: Finally, I cannot stress more the importance of having incremental backups and periodic saves. According to your use case, make sure that you are saving the data periodically. While running the scraping make sure that you have added code that checks what has already been obtained and does not start from scratch every time.
We have been using the above approach to download google trends data from 2004 till 2021 for 37 different countries, 55 topics, and 86 categories. The total number of requests to be made are
(37*55*2) + (37*86*2) = 10,434
This would have been otherwise impossible to be done in a short span of time. With the help of Selenium, Tor, and Python this seems achievable.
Ideas, suggestions? Feel free to let me know at ashhadulislam@gmail.com
More content at plainenglish.io. Sign up for our free weekly newsletter. Get exclusive access to writing opportunities and advice in our community Discord.