How to connect Kafka to MongoDB Source

This is a story about how I connected to a MongoDB database in my local through Kafka using confluent.
For the uninitiated, the cloud and Big Data is a bewildering place. There are so many tools available nowadays, there seems to be always an alternate route to whatever your plan is. Especially in the corporate world.
To make sense out of the cloud, I attended a boot camp in my office where we learned the basics of Kafka, Spark, Alluxio and Presto, to name a few. As a part of the bootcamp, we were required to create a kafka connector for the mongodb database. The end goal was, whenever there would be any change in the database, the same would be written into Kafka topic and would be visible to any Kafka consumer, listening at that topic.
I had to refer multiple websites and YouTube videos, before I could finally get the whole thing up and running in the wee hours of the morning. So, in order to save you the trouble, here is a handy, all in one place guide to get there.
Setting up MongoDB

Basically what the guys at Kafka — MongoDB connector are trying to tell us is that, if you have a single instance of MongoDB running, Kafka is not going to connect — you need to have fancy replicated instances of MongoDB running.
If this seems like a deal breaker to you, I am going to ask you to be a little more patient and battle it out because the end result is going to be worth the pain.
For Kafka to listen to MongoDB, it needs replicated instances of Mongo running at different nodes. I was initially confused, but trust me, it is not very difficult to set up in your local machine. I followed this video, and the instructions are as follows.
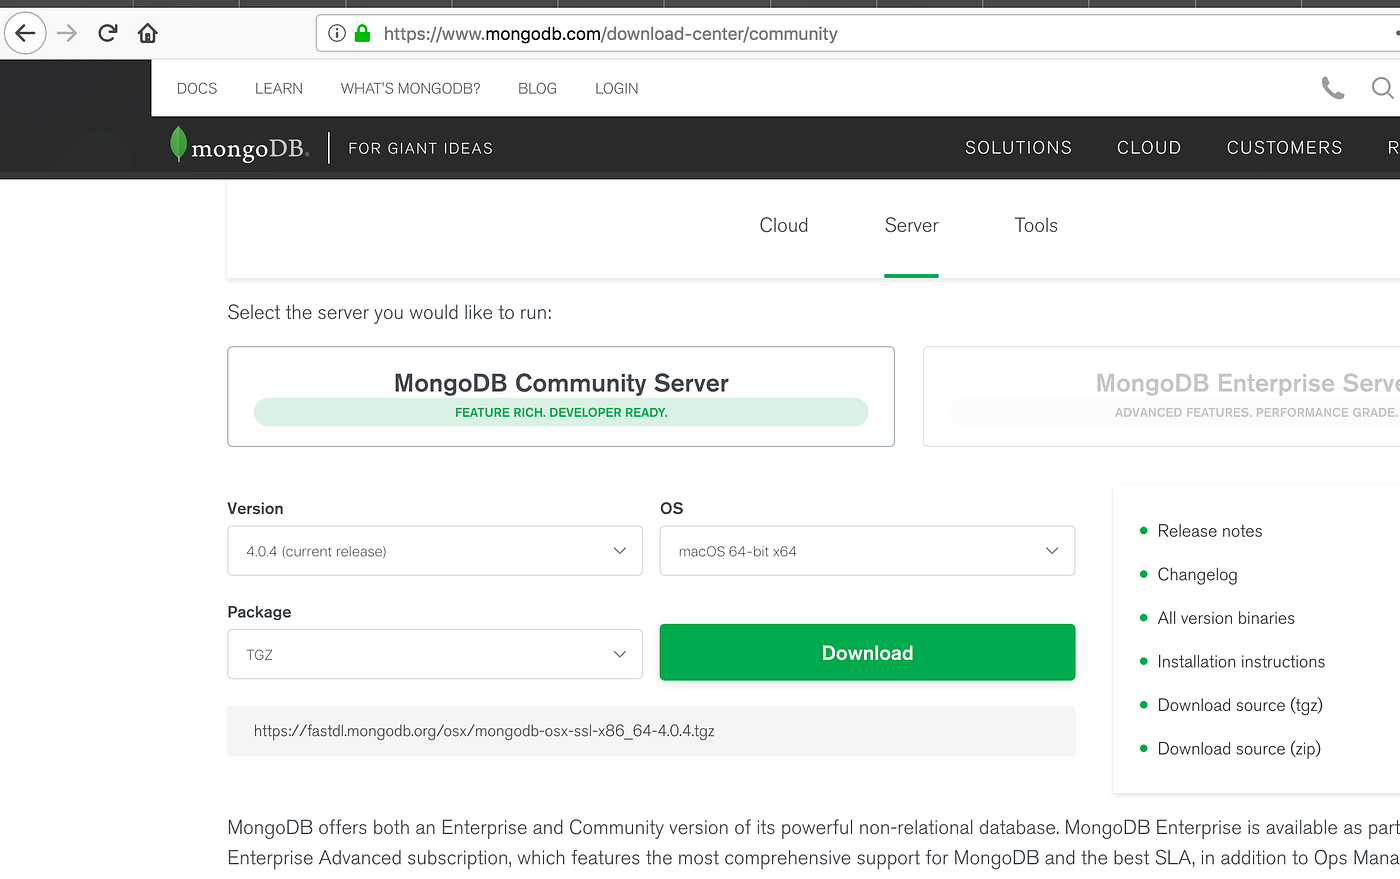
Download a MongoDB community server from here. This is what the page looks like.
Once you have the zip file, put it in a folder (call it software, because you’ll be downloading some more there) and extract the contents.

Once you have extracted the mongodb folder, enter the folder and create three more files viz. mongod_1.conf, mongod_2.conf and mongod_3.conf
Also create three folders called s1, s2 and s3 — all at the top level.
Here is what the folder should look like.

The content of the mongod_1/2/3.conf files is something that you have to be wary about.
Basically we are defining the configurations of the three replicas of mongoDB that shall run in our system. The primary MongoDB server should run at say, port 27017, the two secondary servers should run at port 27018 and 27019.
Also, as data has to be replicated, the three DBs should point to three different data locations, not to mention, their logging locations should also be different.
Contents of the three files are as below.
mongod_1.conf
systemLog:
    destination: file
    path: /Users/ashhadulislam/ashhad/bootcamp2018/software/mongodb-osx-x86_64-4.0.4/s1/mongo.log
    logAppend: true
storage:
    dbPath: /data/s1/db
net:
    bindIp: 127.0.0.1
    port: 27017
replication:
    replSetName: repracli
mongod_2.conf
systemLog:
    destination: file
    path: /Users/ashhadulislam/ashhad/bootcamp2018/software/mongodb-osx-x86_64-4.0.4/s2/mongo.log
    logAppend: true
storage:
    dbPath: /data/s2/db
net:
    bindIp: 127.0.0.1
    port: 27018
replication:
    replSetName: repracli
mongod_3.conf
systemLog:
    destination: file
    path: /Users/ashhadulislam/ashhad/bootcamp2018/software/mongodb-osx-x86_64-4.0.4/s3/mongo.log
    logAppend: true
storage:
    dbPath: /data/s3/db
net:
    bindIp: 127.0.0.1
    port: 27019
replication:
    replSetName: repracli
A few points to note here:
systemLog.path this is the path to the s1, s2 and s3 folders that you created
dbPath this is important. This is basically where the data of each database will be stored. You have to ensure that the path exists that is, for /data/s1/db all three folders, data, s1 and db should be present. The same applies to the other two configurations too.
Setting up MongoDB replicaset
Now lets fire up the terminal and see if we can have mongodb running as a replica set at three different ports.
Open your terminal and reach to the mongodb installation folder. (The one you extracted a while ago). Stay at the top level and execute the following commands.
./bin/mongod --config mongod_1.conf &./bin/mongod --config mongod_2.conf &./bin/mongod --config mongod_3.conf &
The above commands execute the mongodb servers with the corresponding configurations defined inside the .conf files. To check whether the processes are up and running, execute
ps aux | grep mongodYou should get an output like this

Next, you need to open mongo client.
Run the following command in terminal.
./bin/mongo --port 27017This opens up the mongo client and it is served by the mongodb server running at port 27017. The remaining two dbs will be added soon as the secondary dbs while the db running at port 27017 is going to be our primary DB.
Now, from inside the mongo client, run the following commands to initiate the replica sets
> rs.initiate()> rs.add(“127.0.0.1:27018”)> rs.add(“127.0.0.1:27019”)> rs.status()
You should finally get a list of the members in the replicaset.

Adding some Data into the mongoDB
Now, in order to add data easily into the database, you can use RoboMongo which goes by the name Robo3T these days, available here

Download and add the application.
Once you fire the application, you should see a window like this.

Click on the connect icon at top left (the one with multiple pc screens). Click on create and add the following parameters.

Click on Save and then connect to the DB. You should see

Right click on mongo_Connect and choose Create Database. Give a name like test_mongo_db and click on create. The database should appear on the side panel.

Now, right click on collections under test_mongo_db and create a collection. This is basically a table in mongo language. Create a table, say, “test_mongo_table” and the table should appear below Collection.

Finally, insert some data in the brand new table. Right click on the table and click on insert document(again mongo lingo for row/record). In the window that opens, enter json style data.

After adding the data, click on save. Then, if you double click on the collection(table), the data within the table should appear in the right side window.

Note that your database name is test_mongo_db(or whatever you have given) and your collection name is test_mongo_table.
With that we come to the end of the first part, setting up the MongoDB. Our data base is now ready to receive a connection from Kafka. Let us set that up in the next part.
Setting up Confluent
Believe me things get easier from now on.
For the remaining part, I have followed this youtube tutorial. Thank you Rachel Li.
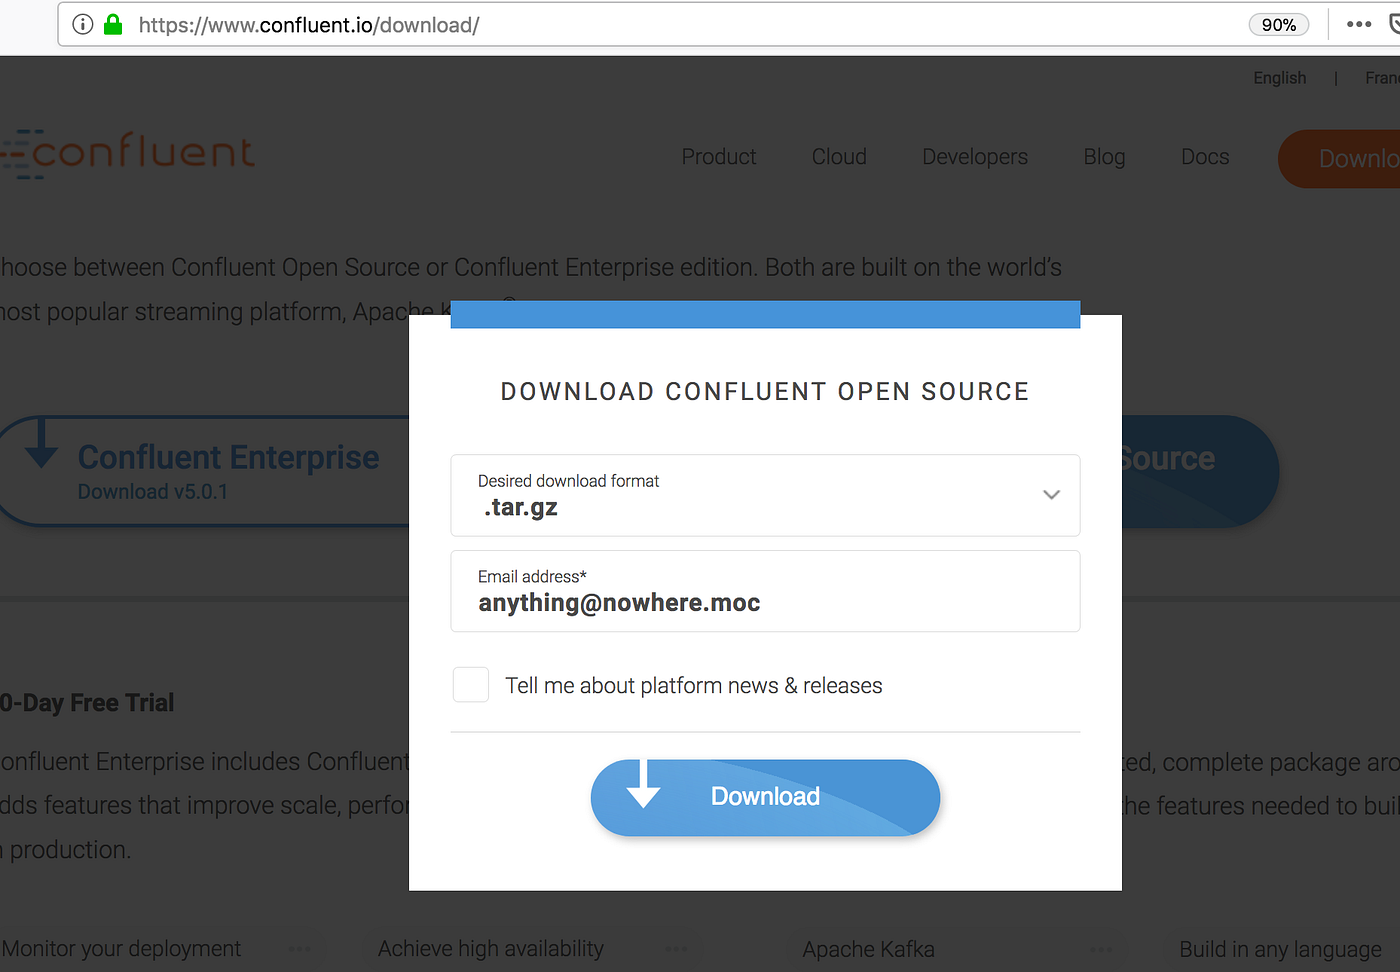
First things first, get the Confluent package from here. Choose the open source version and let the good things come in.
Once again download and extract the package in your software folder.

Getting the MongoDB Connector from Confluent
Before setting up the kafka and the zookeeper server, we have to digress a bit.
Confluent helps us connect to multiple databases. It has a whole gamut of jars that we can (not very)simply plug and play.

The one that we are going to use to connect to mongodb is this.

Details about this connector can be found in the debezium MongoDB connector page. I would recommend a read through, especially that part about the topics, because it contains a very important piece of info(that I’ll anyways share here later)
So you go to the connector page and download the jars by clicking on the green download symbol.

You’ll be asked to download a zipped folder that you’ll save in the same old software folder.

If you extract the zip and open the folder, go to the folder titled “lib” and copy the jars from there to inside the confluent folder. Not clear? Here, take a look at this image.

Obviously the debezium folder is not initially present inside the confluent folder, just create a folder, name it so and pass the jars from debezium into it.
Now you can forget about the debezium folder(that you downloaded and extracted) and carry on your activity from within the realm of the confluent.. folder.
Addition to CLASSPATH
Whenever you get some jars, the first thing that you should do is add them to classpath.
Open your bash profile file with the following command
vi ~/.bash_profileAdd the following lines to your bash_profile file at the end
#for CLASSPATH
CLASSPATH=/Users/ashhadulislam/ashhad/bootcamp2018/software/confluent-5.0.0/debezium-debezium-connector-mongodb-0.8.1/*
export CLASSPATH
PATH=$PATH:/usr/local/sbin
export PATH
Here, if you watch closely, I am giving the location of my freshly minted jars (that I put in my confluent folder), with a * implying that all the jars inside the folder should be taken into account. You should give corresponding location in your system.
After saving the changes, run the following command to apply the bash profile settings.
source ~/.bash_profileTime To Connect
About time. Lets take a look inside the confluent folder in software. It should look something like this.

Everything in place. Now fire your terminal and go to the same location(within confluent). You’ll be needing multiple such terminals.
In the first terminal, enter the following command
./bin/zookeeper-server-start ./etc/kafka/zookeeper.propertiesWe’ll call it the zoo keeper terminal.
In another terminal, run the following
./bin/kafka-server-start ./etc/kafka/server.propertiesWe’ll call this one the kafka server terminal.
In the next terminal, start the schema registry with the following command.
./bin/schema-registry-start ./etc/schema-registry/schema-registry.propertiesWe’ll call this the registry terminal.
So now lets pause and take a breather.


Now we are ready to call our connector. But we need to inform our connector that we have got these new jars that we want to use, not to mention the ip and port number etc of the running mongodb server. We create a file called connect-mongodb-source.properties inside … software/confluent-5.0.0/etc/kafka/

The contents of the file are as follows:
name=mongodb-source-connector
connector.class=io.debezium.connector.mongodb.MongoDbConnector
mongodb.hosts=repracli/localhost:27017
mongodb.name=mongo_conn
initial.sync.max.threads=1
tasks.max=1
Note the parameter “mongodb.name” whose value is “mongo_conn”.
With the properties file in place, we are ready to run the connector.
Setting up topic
This is the important part.

This basically says that, if your mongodb.name parameter is A, database name is B and collection name is C, the data from database A and collection C will be loaded under the topic A.B.C
In our case
mongodb.name=mongo_conn
db name is test_mongo_db
collection name is test_mongo_table
So it can be safe to assume that all the data from that collection will come under the topic, mongo_conn.test_mongo_db.test_mongo_table.
Well, here is the catch

Basically this says that the topic must be present beforehand, for connector to put the data in. Let’s create the topic then.
In command prompt, at the software/confluence.. folder, execute the following command
./bin/kafka-topics --create --zookeeper localhost:2181 --replication-factor 1 --partitions 1 --topic mongo_conn.test_mongo_db.test_mongo_tableNow, to check whether the topic has really been created, execute:
./bin/kafka-topics --list --zookeeper localhost:2181
Run the connector(finally)
In the same terminal, now you can execute the standalone connector with the following command.
./bin/connect-standalone ./etc/schema-registry/connect-avro-standalone.properties ./etc/kafka/connect-mongodb-source.properties
When you see that the connector is checking current members of replica set, it is time to see if the data has come into the topic. Basically we need to read off the topic. In another terminal, at the same location, try and read the topic with the following command.
./bin/kafka-console-consumer --bootstrap-server localhost:9092 --topic mongo_conn.test_mongo_db.test_mongo_table --from-beginningWait with bated breaths. Check the output.

If you look at the output closely, you will see the entries of the first record in the collection also printed on the terminal.
For a cross check, open Robo3T and alter the name in the same record to “successful mongo connect test”. Then come back and look at the same terminal. Here is the output:

There you go! Kafka is now listening to your mongoDB and any change that you make will be reoported downstream.
If you followed till down here, you deserve a break and a pat on your back.
Feel free to ping me at ashhadulislam@gmail.com if you face any issues in this process. I might be able to save you some time.
A shout out to our bootcamp coach Pavan for being a great guide. Hat tip to my colleagues and managers at DAH2, Hyderabad for being such amazing enablers.
Until next time.

